There’s something about creating a clean, simple home that just feels grounding—especially in a busy season of life.
Over time, I’ve found myself moving away from complicated routines and toward something a little more manageable. With kids at home and full days of homeschooling, I don’t have the time (or energy) for anything overly involved. I’ve learned that the best routines are the ones that feel doable in everyday life.
Little by little, I’ve started swapping out some of our regular products for simpler, more natural options. Nothing extreme—just small changes that make our home feel a little more calm and intentional.
If you’re in a similar season, you might also enjoy my Spring Cleaning Guide, where I share a more complete look at how I reset our home for a new season. And if you prefer ready-made options, I’ve also shared my favorite low-tox cleaning products and tools that I use regularly.
These DIY cleaners are just a simple place to start—easy to make, easy to keep on hand, and something you can work into your routine over time.
*This post contains affiliate links. I may earn a commission if you purchase through these links, at no extra cost to you. I only share products I genuinely love or would recommend. Affiliate income helps me keep creating free content—thank you for your support!
DIY Cleaning Products
I put together some recipe cards that you can download and print as well as a set of simple printable labels if you want to make your bottles feel a little more organized—you can find those further down in the post.

DIY Foaming Hand Soap
You will need:
- Dr. Bronner’s Castile soap (I like the unscented so I can add my own scent)
- Fractionated coconut oil (or jojoba oil or vitamin E oil)
- Organic essential oils (I love lavender and sweet orange)
- Water
- Glass foaming soap pump
Directions:
- Fill your foaming soap pump about ¾ full with water (add this first to prevent excess foaming)
- Add about 1 part castile soap
- Add about 2 teaspoons of oil for moisturization
- Add about 15 drops total of essential oils
- Leave a little space at the top for air so the pump works properly
- Put the lid on and gently shake to combine
Tip: When refilling, fully empty the bottle before making a new batch.
How I use it:
This is what we use at all of our sinks—kitchen and bathrooms. It’s a simple everyday swap that keeps things feeling clean without drying out our hands.

DIY Multi-Purpose Spray
You will need:
- Lemons or other citrus rinds (like oranges)
- Distilled white vinegar
- Large glass jar or mason jar
- Fine mesh strainer
- Water
- Glass spray bottle
Directions:
- Add citrus rinds to your jar and fill with vinegar
- Let sit for a few days up to a week
- Strain the mixture into your spray bottle (about ⅓ full)
- Fill the rest with water
- Shake gently to combine
You can keep reusing the jar—just continue adding vinegar and fresh citrus rinds as needed.
How I use it:
This is my go-to for everyday cleaning—kitchen counters, the table, high chairs, and quick wipe-downs around the house. It’s what I reach for most often during the day.

DIY Disinfectant Spray
You will need:
- Hydrogen peroxide
- Essential oils (like tea tree or a “germ fighter” blend)
- Amber glass spray bottle
Directions:
- Add about 15 drops of essential oils to your bottle
- Fill the rest with hydrogen peroxide
- Gently shake to combine
How I use it:
I mostly use this in the bathrooms—sinks, toilets, and surfaces that need a deeper clean. I also like to use it during sickness or when I feel like things need a little extra attention.

DIY Window + Glass Cleaner
You will need:
- ¼ cup distilled white vinegar
- ¼ cup rubbing alcohol
- 1 tablespoon cornstarch or arrowroot powder
- Water
- 16 oz glass spray bottle
Directions:
- Add vinegar and rubbing alcohol to your bottle
- Mix the cornstarch with a small amount of water first, then add it in
- Fill the rest with water
- Shake well before each use
How I use it:
I use this for mirrors, windows, and anything glass—especially in the bathrooms and around the house where fingerprints show up quickly.

DIY Carpet Freshener
You will need:
- 2 cups baking soda
- ~20 drops essential oils (lavender is a favorite)
- Glass jar with shaker top
Directions:
- Mix baking soda and essential oils together
- Transfer to your jar
- Sprinkle onto carpets or rugs and let sit (even overnight if possible)
- Vacuum thoroughly
How I use it:
I like to use this on rugs and carpets before vacuuming, especially in the main living areas. It helps everything feel a little more fresh without much extra effort.

DIY Soft Scrub Cleaner
You’ll need:
- 1 cup baking soda
- ¼ cup castile soap
- 1–2 tablespoons hydrogen peroxide, optional
- 10 drops lemon or tea tree essential oil, optional
Directions:
- Add the baking soda and castile soap to a small bowl.
- Mix until it forms a thick paste.
- If it feels too dry, add a very small splash of water until it reaches the texture you like.
- Stir in the hydrogen peroxide and essential oils, if using.
- Scoop a small amount onto the surface you want to clean.
- Scrub gently with a sponge or brush.
- Rinse well
How I use it:
I would use this soft scrub on bathroom sinks, tubs, showers, tile, and kitchen sinks when I need something a little stronger than a spray cleaner. It’s great for those spots that need a little extra elbow grease, but I still want to keep the ingredients simple and low-tox.
Storage: Store in a small airtight jar and use within 1–2 weeks, or make a fresh batch as needed. If you add hydrogen peroxide, it’s best to make a smaller batch and use it sooner rather than storing it for a long time.
Items needed to DIY Non-Toxic Cleaning Products:

Free Printable Recipe Cards + Cleaning Labels
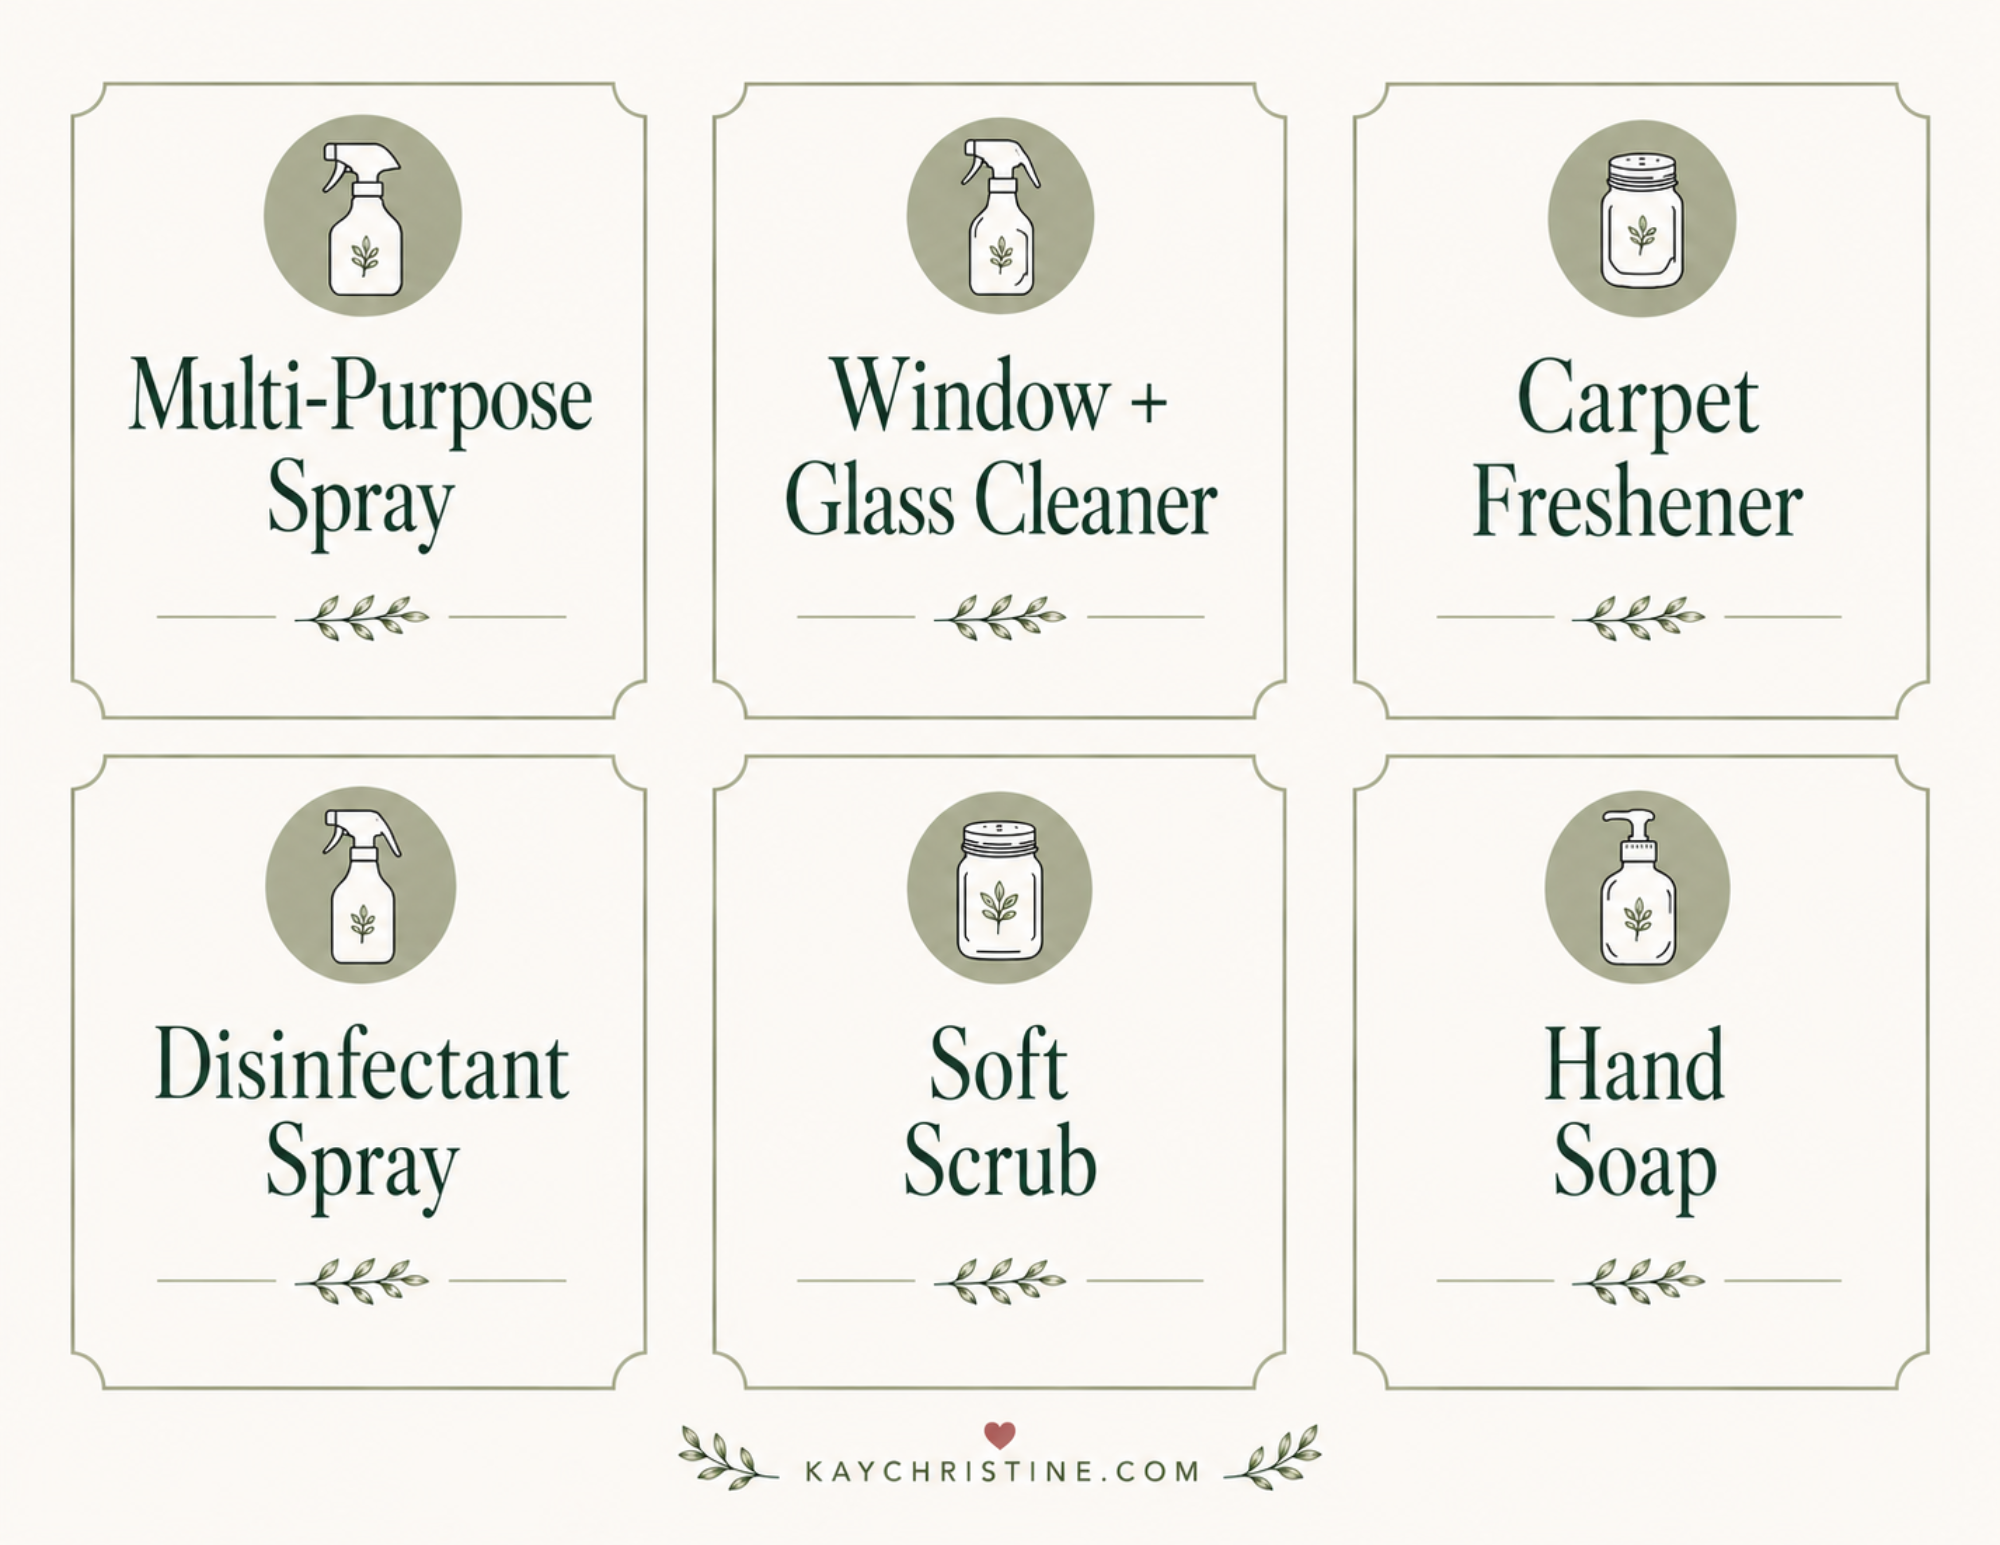
One of my favorite little ways to make these DIY cleaners feel more put together is by using simple labels. It’s not necessary, of course—but it does make everything feel a little more organized, especially if you’re storing your cleaners in glass bottles or jars. But also everything is better when it’s a bit prettier right? So I created a set of labels you can use for your own DIY cleaning products.
I also made some nice DIY cleaning recipe cards that you can print out and put in your recipe binder so it’s easy to replenish when you are out! Download them below.
Want the printable version?
I made FREE Printable Recipe Cards you can have sent straight to your inbox, so you can print it out, check things off, and make your spring reset feel a little easier.
Click the image to get your copy →

You can download the free cleaning labels below and use them for your own DIY bottles and jars.

You can print them on sticker paper or regular paper and tape them on—whatever is easiest. I like to keep things simple, so I usually just print, cut, and use what I have on hand.

At the end of the day this isn’t about doing everything perfectly and switching every single toxic product. It’s about creating a home that makes you feel more comfortable and manageable—one small step at a time. A few simple swaps, a little consistency, and giving yourself the freedom to keep things uncomplicated.
If you’re building out your own routine, you can always come back to my Spring Cleaning Guide for a bigger picture approach, or take a look at my low-tox cleaning products and tools if you’d rather keep things simple with ready-made options.
💬 Tell me in the comments: What are your favorite ways to keep your home feeling clean and refreshed? Do you like making your own products, or do you prefer to keep it simple with store-bought options?
If you want to come back to this later, be sure to save these images on Pinterest.